How to Create Creative Titles for Your Scrapbook Pages

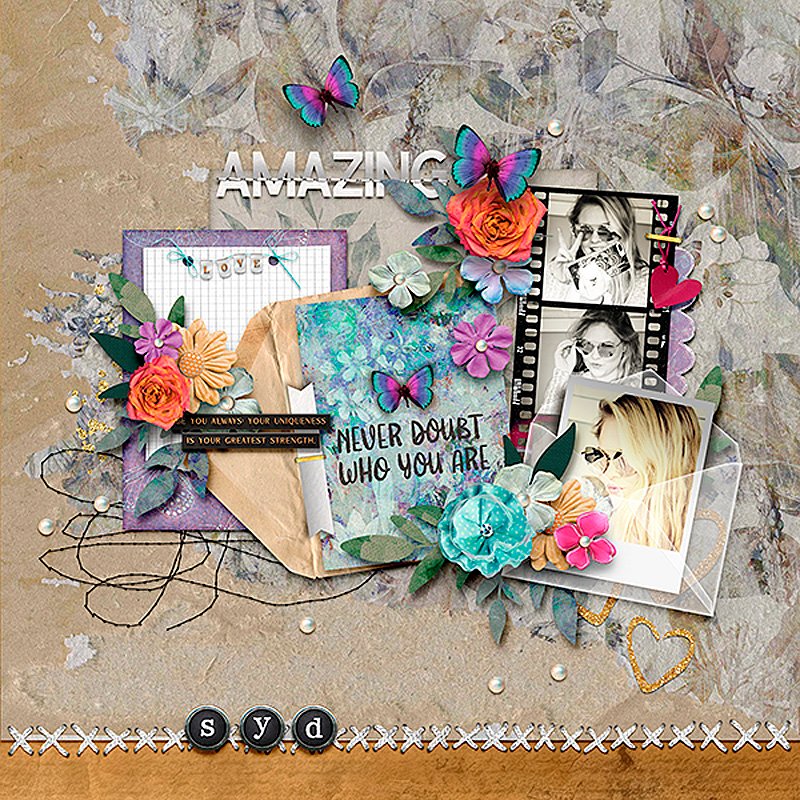
Titles are an essential part of scrapbook pages, helping to tell the story behind each layout. In today’s video, I share different ways to create titles and some Photoshop tricks to further personalize your compositions.

If you’re looking for inspiration to add a special touch to your layouts, this tutorial is for you! Additionally, I’ve prepared a list of shortcuts used in the video to make your editing easier. Check them out below:

Photoshop Shortcuts Used

  • Ctrl + Alt + M / Command + Option + M: Create a new document with default settings.
  • Ctrl + Alt + Shift + E: Merge all visible layers into a new layer.
  • Ctrl + J: Duplicate layer.
  • Ctrl + T: Transform (resize, rotate, distort elements).
  • Alt + Click and Drag: Quickly duplicate an element.
  • Ctrl + Shift + U: Desaturate (convert an image to black and white).
  • Ctrl + L: Adjust color levels.
  • Ctrl + U: Adjust hue and saturation (recolor elements).
  • Ctrl + D: Deselect active selection.
  • Lasso Tool (L): Select an area freely.
  • Move Tool (V): Move elements within the layout.
  • Quick Selection Tool (W): Automatically select elements.

These shortcuts help optimize the design process, making editing faster and more efficient.

Watch the full video to see these features in action and learn how to create impactful titles for your scrapbook pages. If you have any questions, leave a comment!

Inspiration for Your Creations

To further illustrate this topic and keep your creativity flowing, I have selected some amazing pages created by my team. See how different techniques were applied to title composition and how this can bring personality to each layout.

I hope you enjoy and have fun creating!

With love, Raquel

Generations in Color: Celebrating Family Stories & Creative Creations

I hope you’re all geared up for another exciting week of creative inspiration! As promised, our latest release is all about celebrating the timeless moments we share with family and the cherished stories passed down through generations.

Drawing inspiration from the vibrant hues of Color Play, our newest collection has blossomed into a tapestry of creativity, offering a plethora of elements to fuel your imagination and craft special projects.

Capture cherished moments and stories across generations with our exclusive items, now available! Enjoy a fabulous 60% off this weekend only! Plus, snag individual packs at 50% off until January 31st! Don’t miss this chance to create unforgettable family memories.

Take a peek at some stunning examples crafted by the talented individuals from Creative Time showcasing the endless possibilities this collection has to offer.

Don’t miss out on the fun – dive into our latest release and make the most of the remaining days of our exclusive 50% discount on all products in my store.

Feeling a bit uncertain about using editable frames? Fret not! 

I’ve crafted a handy blog post detailing everything you need to know, accompanied by a reels tutorial demonstrating two innovative ways to utilize this feature. Plus, I’ve shared my top tips for preserving image quality when saving pages for the web.

Join us now and embark on a journey of creativity and enjoyment!

And for those who’ve journeyed with me this far, I have a special surprise in store just for you. I hope it brings a smile to your face!

Until next week, keep creating and have a splendid weekend, everyone!
Warm regards,

Kel

How to use the editable photo in the Vellum pocket element from the new ‘Just Keep Going’ collection?

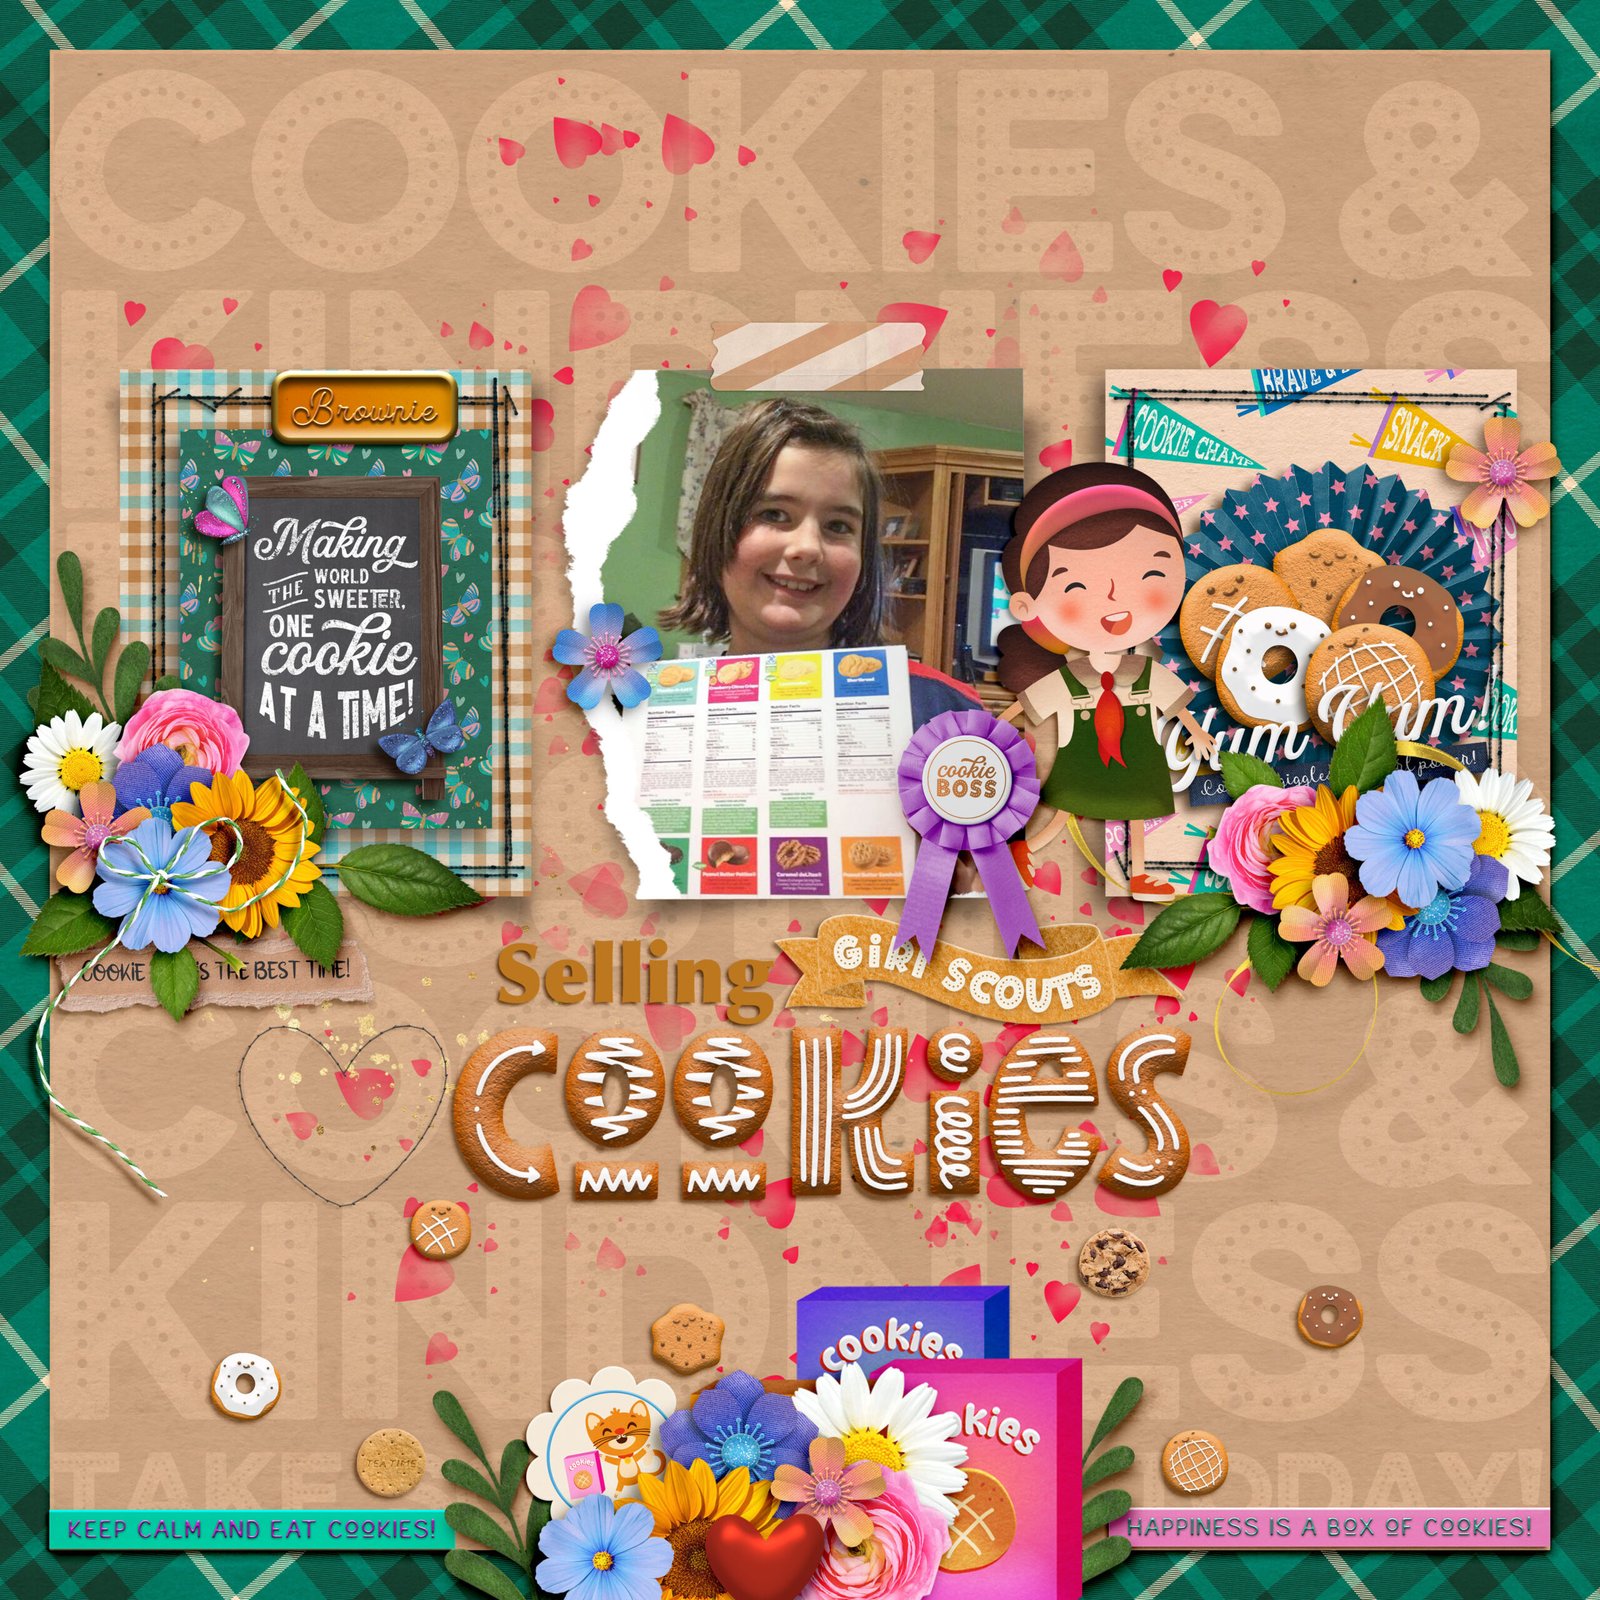
Hello! I’m excited to introduce a new series to the blog, featuring tips and tutorials on using elements from my products. I’ll also share valuable insights to make your scrapbook pages more realistic and beautiful.

In this inaugural tutorial, I’ll guide you through using an element from the latest collection. However, you might notice that this editable element is also available in other collections, presented in .TIF format. It can be opened in Photoshop for easy customization with the photo or paper of your choice.

To make things even simpler, I’ve created a quick and easy video to help you understand how to incorporate it into your pages. The video is in Portuguese, as my spoken English isn’t that great. But don’t worry! Below the video, I’ve provided instructions on how to enable automatic subtitles on YouTube, so you can watch it in your preferred language.

How to generate automatic subtitles in my language on Youtube?

1. Click on the Settings (Gear) Icon: Look for the settings icon, which is usually represented by a gear symbol. You can find it at the lower-right corner of the video player.

2. Select “Subtitles/CC” Option: Click on the “Subtitles/CC” option from the menu that appears after clicking the settings icon.

3. Choose “Auto-translate”: Within the “Subtitles/CC” menu, there should be an option called “Auto-translate.” Click on it.

4. Select Preferred Language: A list of available languages will appear. Choose the language you prefer for the subtitles. YouTube will automatically translate the subtitles into the selected language.

5. Adjust Settings (if needed): Some videos may have additional settings, such as font size and color. You can adjust these settings based on your preferences.

6. Enjoy Watching with Subtitles: The video should now display subtitles in your chosen language. Enjoy watching the video with automatic subtitles!

Discover other products that have this element for you to personalize:

  • Time to Hygge {+ephemera}
  • Let it Snow kit 
  • Happy Thoughts kit

I hope you enjoy the tutorial, and if you have any questions, feel free to leave them in the comments.

Hugs,

Kel